This summer was BUSY for us! Too busy to craft, let alone blog!
But now that Fall is almost here it's time to get back into the swing of things! :-)
I've been happily working on a bunch of new projects that I plan on sharing with you over the next few weeks! And I've been improving some old projects as well (new coffee sleeve designs and crocheted embellishments!)
For now I'll show you my latest fun project: stamped tile coasters!
This is a quick and inexpensive gift item that's super fun (and easy!) to make!
You'll need:
-Tumbled Marble Coasters (available at Lowes in boxes of 9. Couldn't find any at Home Depot. Go through the box first to make sure there are no broken ones!)
-Felt or cork with a sticky back. (This is for the little "feet" on the bottom of coasters to keep them from scratching surfaces.I found mine at Lowes.)
-Stazon ink (available at
Capture Scrapbooking)
-Various fun stamps in whatever pattern you like! Acrylic or wood both work just fine, but make sure you have an acrylic block for your stamp if you are using acrylic stamps!
-Colored permanent markers such as Sharpie's (optional)
Instructions:
First, wash your tiles to get rid of the chalky dust and let them air dry.
Next, choose your stamp(s) and how you'd like them to be arranged on your tile.
Load up your stamps with your Stazon ink and start stamping! You'll want to be careful that your stamp doesn't slip (those tiles can be slippery!) and ruin your image. Lift it straight up when you are done to prevent smudging.
Let it dry thoroughly.
Once the ink has dried, you can color it in with your colored markers.
When you are done, you'll want to bake them in a 350 degree oven for about 20 minutes to set the ink. This will help keep it from fading over time.
Once they have cooled, put the felt or cork backing or "feet" on them and you are done! Easy as that!
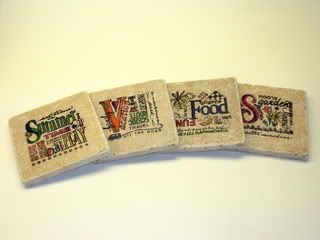
Here is a set I made using a now retired stamp set from Close To My Heart:
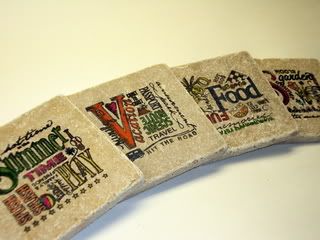
A closer view:
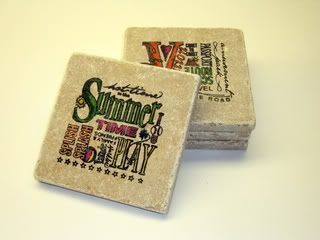
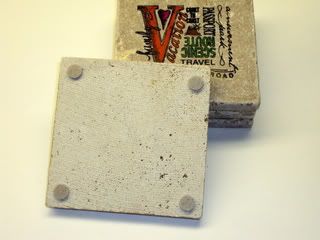
The felt feet I used:
Thanks for looking and check back soon for more posts and contests!
Happy Crafting!
;-)